Finishing a roof attic: how to get sloped walls smooth and crack-free
Sloped walls, plasterboard seams and shrinkage cracks in the roof attic. With the right preparation and Renovlies you can get it smooth and keep it that way.
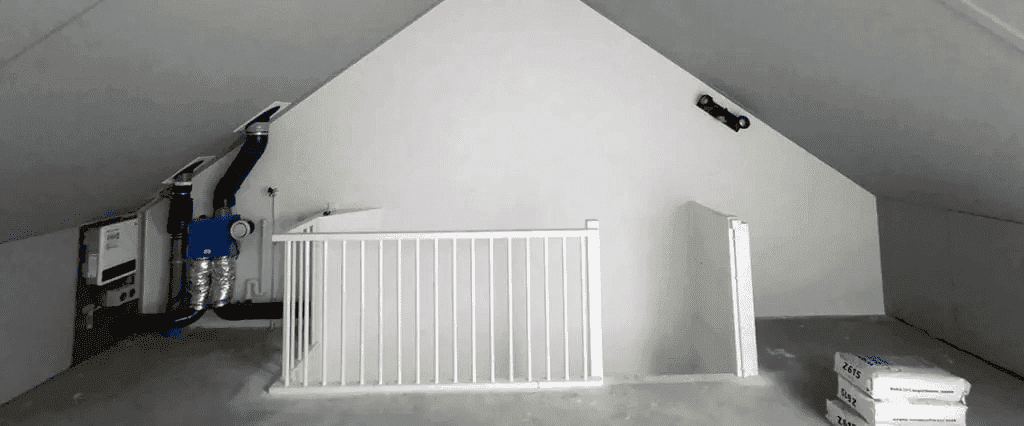
Why the roof attic is always the trickiest job
The attic often feels like the last little task of the renovation. "We'll just throw that in too." Until you actually start. Because finishing a roof attic is almost never as simple as it looks.
Plasterboards that aren't completely flat. Seams where the filler later shrinks. Sloped walls where wallpaper simply won't stick. Shrinkage cracks that show up a few months after the renovation, right in the spots where you notice them most. And we haven't even mentioned the dormer window yet: that combination of sloped, straight and cold frame calls for a different approach in each zone.
A good finish doesn't start with the Renovlies or the paint. It starts with the preparation.
Preparation makes or breaks the job
Before a single square metre of fleece or paint goes onto the roof attic, a professional first gets to work on the substrate. That's not an optional step: it's 80% of the end result.
Tackling seams and screws
Plasterboards are fixed with screws that sit just below the surface. Those holes need to be filled. The seams between boards are taped with reinforcement tape and then smoothed out in two layers. One layer is always too little: you'll always see the seam again once the filler shrinks.
Tracking down cracks
Shrinkage cracks often appear at the transitions between wall and roof, or around a dormer window. A professional actively looks for them and routs them open before they are filled. A crack you don't open will simply come back after six months.
Dust, grease and loose bits
Attics are dusty. What's normally no problem on the ground floor won't stick at all up in the attic. Vacuum thoroughly, degrease and remove any loose bits before you continue.
This step is identical to what we do with old walls where the paint needs to come off or paint layers that are coming loose.
Renovlies on sloped walls
After the preparation comes the Renovlies. And on sloped walls in particular, this is the smartest choice.
- It bridges the seams and small imperfections in the plasterboards.
- It holds back any shrinkage cracks that might want to develop later.
- It provides a uniform surface to paint on: no difference between board and filler.
- When you move or repaint, you're starting from a clean, smooth base.
You choose the thickness of the Renovlies based on the wall. A sloped roof with lots of seams calls for a thicker fleece than a straight wall. You can read which one you need in the article about Renovlies thicknesses.
Applying fleece to a sloped surface takes skill. The strips need to join seamlessly, without pulling apart at the corner against the knee wall. A specialist works from top to bottom and takes the direction of raking light into account: every imperfection is twice as visible on a sloped wall.
The finish: paint that lasts
After the fleece comes the paint. On an attic this is an important choice, because:
- The temperature in an attic fluctuates enormously between summer and winter. Cheap paint cracks or yellows.
- On a sloped wall every roller streak shows: the quality of the paint and the technique determine whether it comes out smooth.
- A dormer window often lets in a lot of light. White walls can look visually "harsh". Consider a white tint with a touch of warmth.
You can read more about colour and finish choices in Renovlies colours and finishes.
Corners, valley rafters and the dormer window
The devil is in the details. A roof attic has more corners than a normal room:
- Knee wall to sloped roof: an aluminium corner profile is often used here to prevent cracks.
- Ridge in the middle: the transition from slope to slope must be absolutely sharp, because the whole room looks right at it.
- Dormer window: three angles come together around the window. This is where a specialist makes the difference.
- Connections to window frames: should never be a straight sealant joint that will pull later. You can read how to do it properly in how not to apply sealant.
One team for the whole job
The added value of a professional in the attic isn't just in the fleece work or the painting. It's in the combination. One team that handles the plastering, the Renovlies, the paint and the sealing prevents parties from pointing fingers at each other when something isn't right.
We give a 100% coverage guarantee on that. Not because it's a nice marketing badge, but because we keep the work in our own hands: from filler to final coat.
Plan your attic with confidence
Want the attic finished neatly, without worrying about cracks or loose seams? Request a no-obligation quote. We'll come and take a look, assess the substrate and give you a realistic picture of what's needed: with no surprises afterwards.